
The Philidor position is the essential drawing method when you are defending a rook endgame a pawn down: park your rook on your third rank until the enemy pawn advances, then drop it behind to deliver checks from the rear. Executed correctly, it holds a draw against rook and pawn versus rook even though you are material down.
Together with the Lucena, this is one of the two rook endings every serious player must know cold.

The Idea Behind the Defense
Your defensive rook sits passively on the rank three squares in front of your king, cutting the enemy king off from advancing further. As long as the attacking pawn has not crossed to that rank, the enemy king cannot make progress without help.
The key moment comes when the pawn finally pushes forward to your third rank. At that instant the enemy king loses its pawn shelter, and you swing your rook to the back rank to check from behind.
Hold the third rank until the pawn advances, then check from behind — the enemy king has nowhere to hide from the checks. That switch from passive to active is the whole secret.
Setting Up the Position
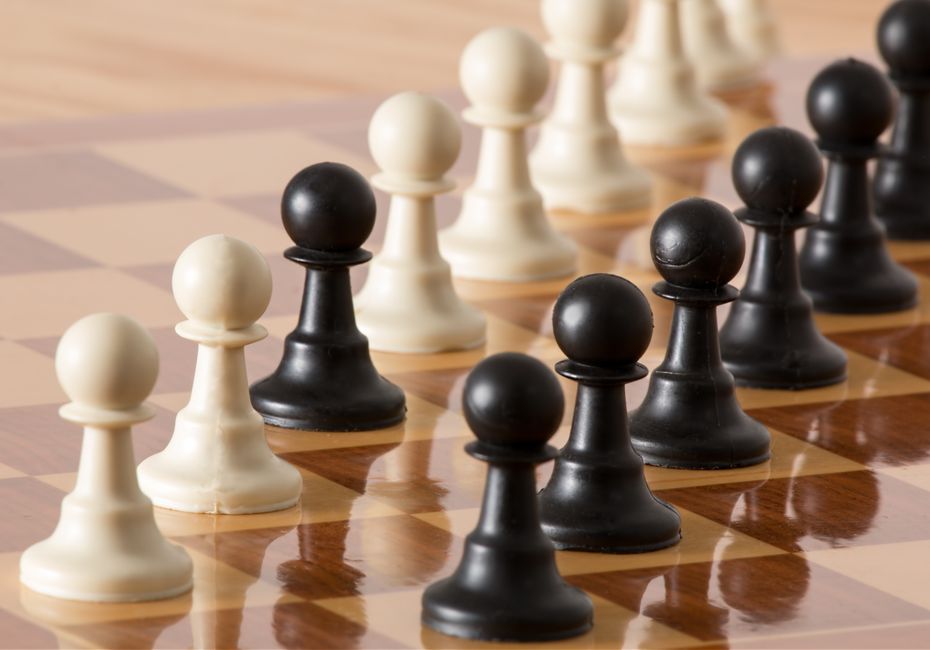
Imagine you are defending with a black king on e8, black rook on a6, against a white king on e6, white pawn on e5, white rook somewhere active. Your rook on the sixth rank (your third rank counting from Black’s side) stops the white king from reaching the seventh.
White cannot improve without pushing the pawn to e6, but the moment it does, your king is no longer shouldered back and you gain the freedom to attack from the rear.
| Phase | Your rook | Purpose |
|---|---|---|
| Waiting | Third rank in front of king | Cuts enemy king from advancing |
| Pawn pushes | Drops to back rank | Prepares rear checks |
| Checking | Behind enemy king | Drives king away, no shelter |
The Drawing Technique Step by Step
Once you recognize the position, the defense runs on rails. Follow the sequence and the draw holds itself.
- Place your rook on your third rank and shuffle it along that rank while waiting.
- Keep your king in front of the pawn, directly opposing the enemy king when possible.
- The moment the pawn advances to your third rank, move your rook to the far back rank.
- Check the enemy king from behind and keep checking; it cannot approach your rook or shelter behind the pawn.
Because the pawn has left the king exposed, every attempt to escape the checks either walks into more checks or abandons the pawn. The attacker makes no progress and must accept the draw.
Keep your rook on the third rank, not the second or fourth. On the second rank the enemy king slips in front of the pawn; on the fourth it advances a rank for free. The exact rank is what makes the defense airtight.
When the Philidor Does Not Apply
The defense assumes your king reached the promotion square’s file in time. If the enemy king has already crossed to your third rank before you set up, you are usually facing the Lucena instead, which is a loss.
Watch for these warning signs that the Philidor is unavailable:
- Your king was cut off and cannot stand in front of the pawn.
- The enemy king already occupies your third rank with the pawn behind it.
- The pawn is a rook pawn, where different drawing methods apply along the edge.
If you cannot get your king in front of the pawn, abandon the Philidor and look for a side-checking or frontal-defense draw instead. Recognizing which defense fits the position is a skill in itself.
The Back-Rank Defense as a Backup
When you cannot reach the classic third-rank setup, a second drawing method sometimes saves you: the frontal or back-rank defense. Here your rook checks the enemy king from the front while your own king stays near the promotion square.
This defense works best against a pawn that has not yet reached the sixth rank, where the checking rook has enough distance to keep harassing the king. The moment the enemy king tries to shelter in front of its pawn, your rook resumes checking from the far side.
If the Philidor setup is unavailable, look to the frontal defense, checking from in front while your king guards the queening square. Knowing both methods means you rarely run out of drawing resources.
The two defenses complement each other. The Philidor covers the case where your king sits in front of the pawn; the frontal defense covers cases where your rook must do the blocking from the front instead. Together they hold the large majority of rook-and-pawn-versus-rook positions.
A Word on the Extra Tempo
Rook endgames are famously drawish precisely because defenses like the Philidor are so robust. A single extra pawn frequently is not enough to win against accurate defense, which is why strong players fight so hard for an active rook and a cut-off enemy king rather than relying on material alone.
Understanding this changes how you play the whole game. If you are a pawn up heading toward a rook ending, aim to reach the Lucena; if you are a pawn down, aim for the Philidor. Steering toward the right target position early is often more important than the moves you find once you arrive.
Building the Habit
The Philidor rewards preparation before the ending even begins. When you are heading into a rook endgame a pawn down, steer your king toward the pawn’s promotion square early so the defensive setup is available.
Drill the position from the defending side against a strong opponent or engine. Set the pawn on different files, practice the timing of the rook swing, and learn to feel the exact moment the pawn advance triggers your rear checks. After a handful of repetitions the defense becomes automatic, and you will hold half-points that less-prepared players routinely lose.